This exercise is intended to help students to understand how to communicate with the LEGO MINDSTORMS EV3 brick using Python.
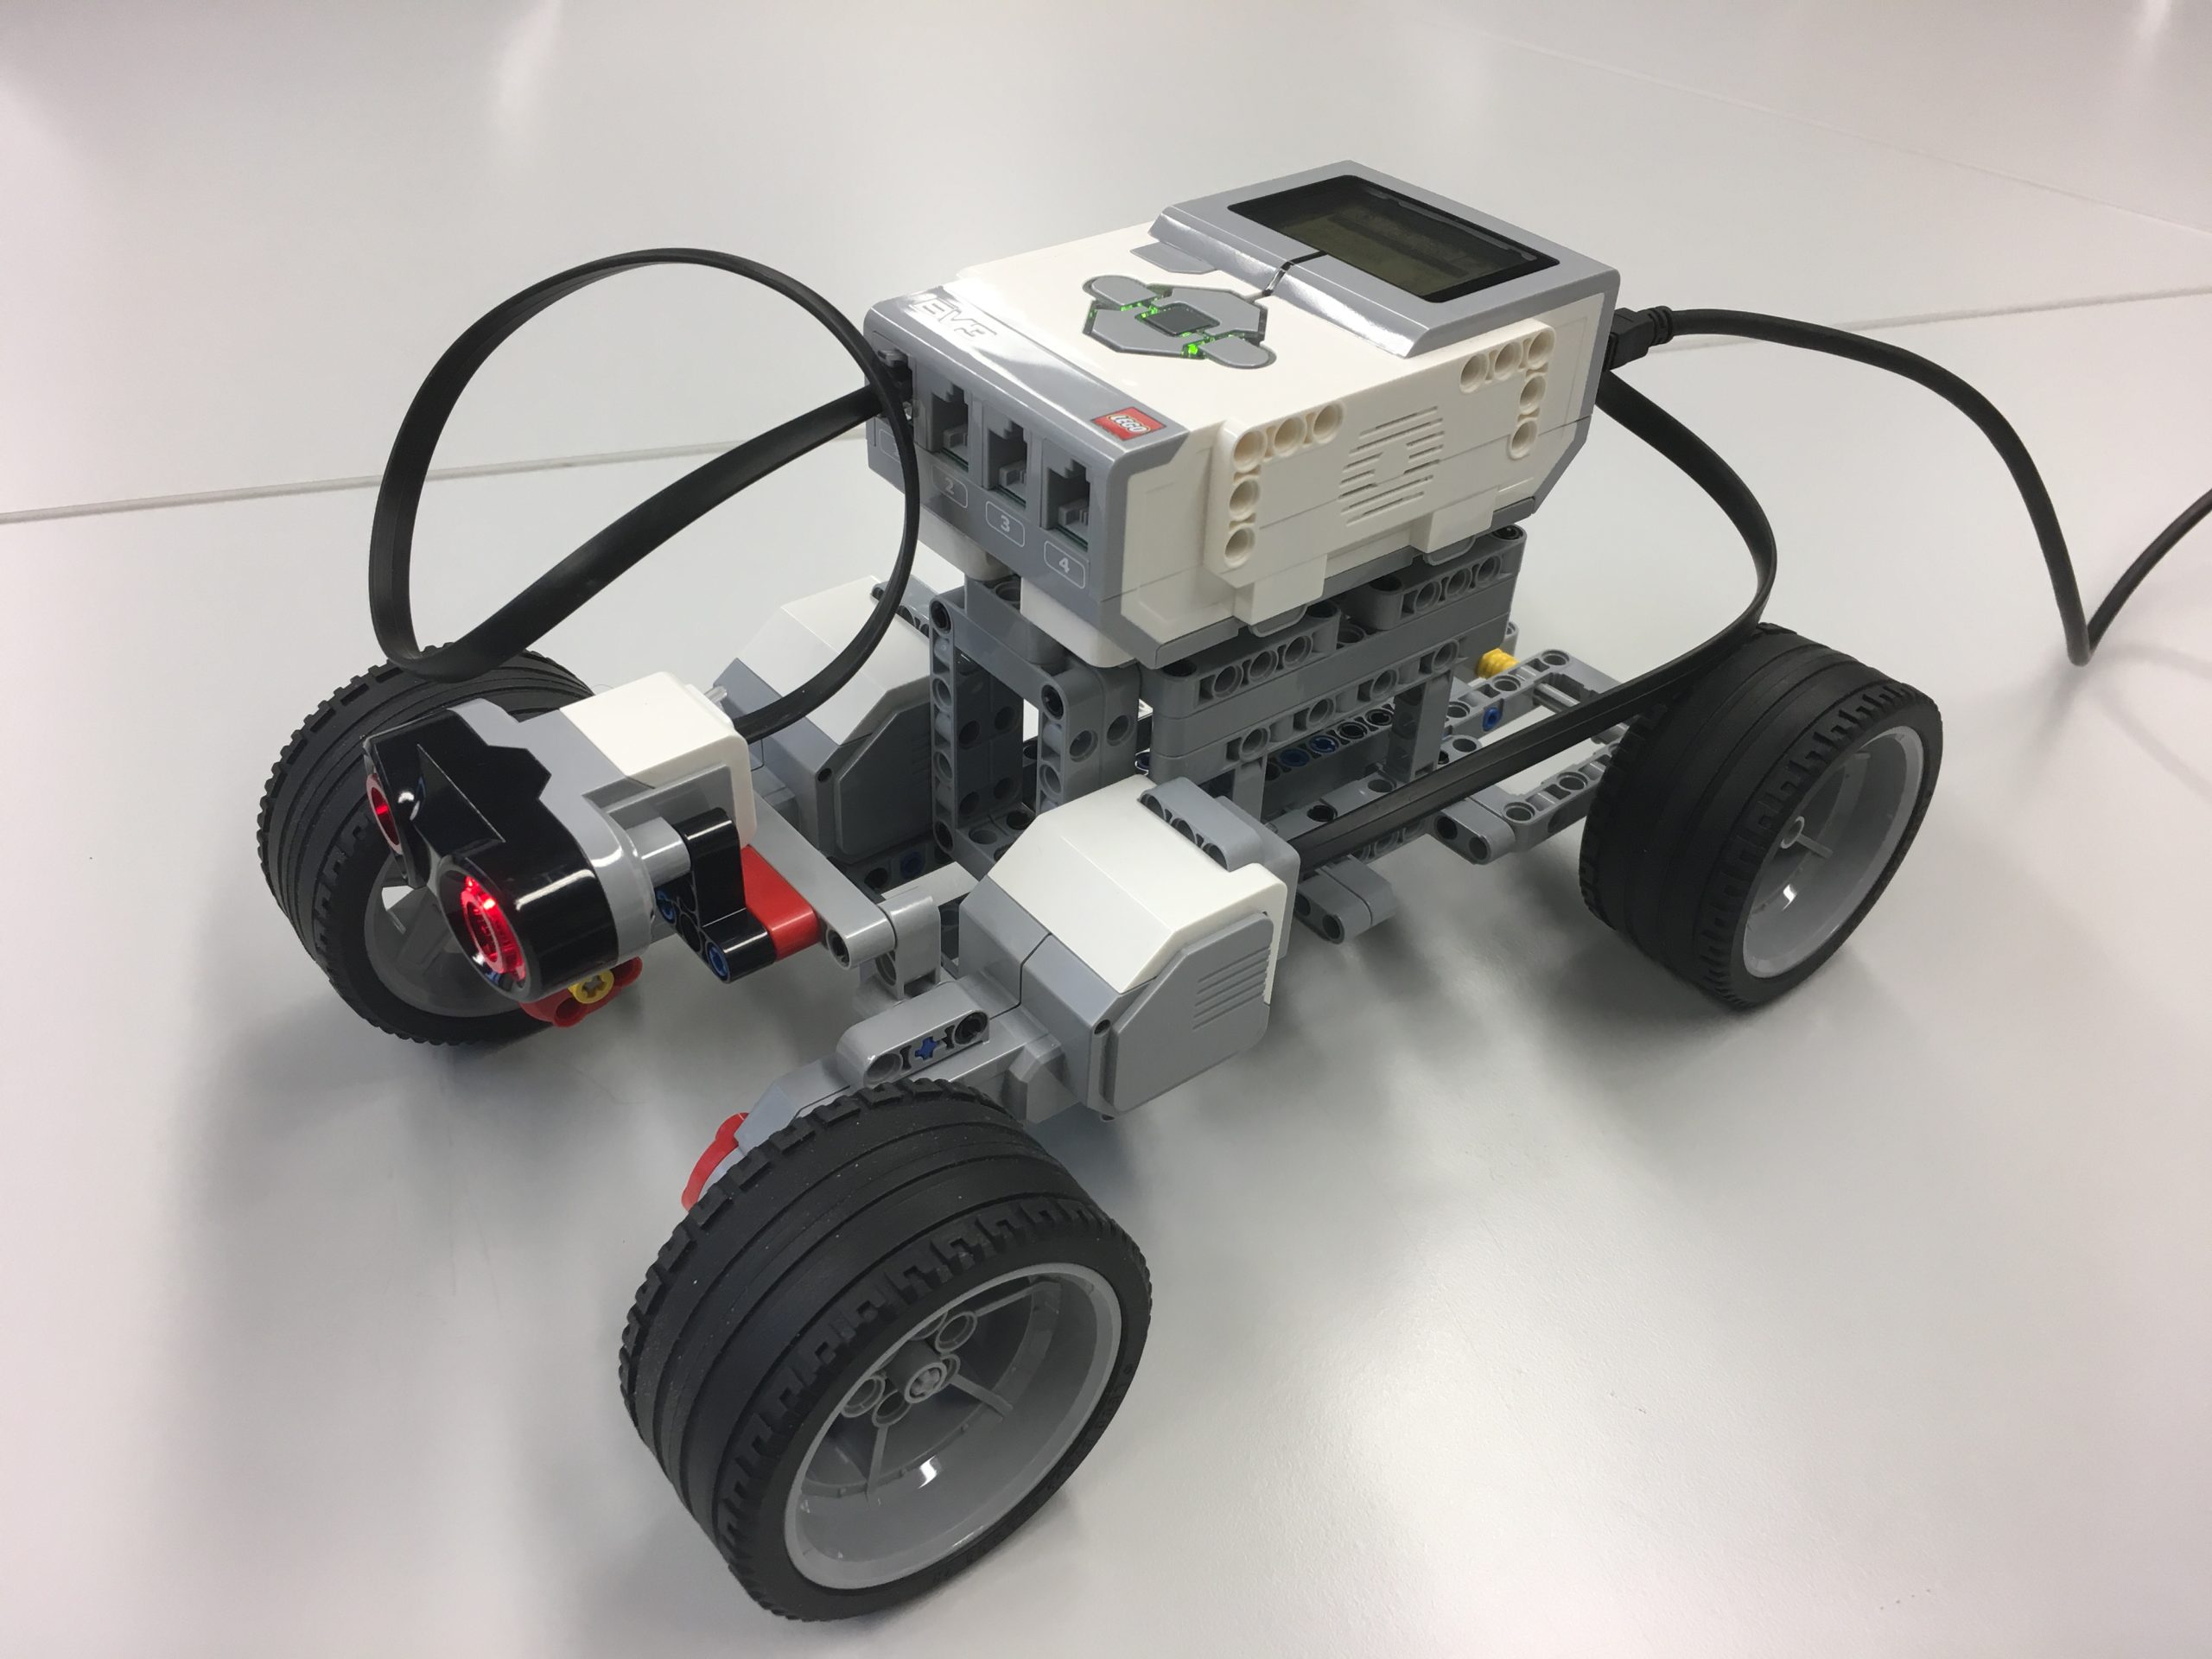
- Build a four-wheeled vehicle with two large motors, which has a sonic sensor at the front.
- Program the vehicle in such a way that it drives forward until it is 30 cm away from an obstacle. Then it drives backwards.
Solution Part 1 Building the vehicle
- First you have to build the vehicle according to the LEGO building instructions. The building instructions are in a LXF file created with the LEGO Digital Designer software. Now that the LEGO DIGITAL DESIGNER software has also been discontinued, there is a workarounds: a series of online apps (in the browser, for example the online 3D workshop by MECABRICKS) and desktop apps (for example Studio 2.0 by bricklink), which can load the .lxf files provided in the book’s supplement. There are also step-by-step building instructions for the experiments in the supplement, so you don’t have to download the .lxf urgently.
Solution Part 2 Prepare the microSD card for use with the EV3 Brick
- Download and install Visual Studio Code. Launch the software and open the extensions tab. Install the EV3 MicroPython extension by using pip install pybricks in the terminal of Visual Studio Code.
- Download the EV3 MicroPython microSD card image. Download a microsSD flashing tool such as Belena Etcher. Insert the a microSD card in a card reader. Launch the flashing tool and follow the instructions to copy the card image ev3-micropython-v2.0.0-sd-card-image.img on your microSD card.
- Add some tape wrapper on the microSD card. The EV3 Brick’s card slot makes the card almost completely disappear, making it difficult to get it out again (see microsd_tape.jpg).
- Turn off the EV3 Brick, insert the microSD card, turn on the EV3 Brick. The brick then start with an alternative firmware, operating system and programs. If you wish to start with the LEGO firmware, operating system and programs, turn it off again, remove the microSD card and restart.
Solution Part 3 Connect Visual Studio Code with EV3 Brick
- Press the Explorer button in the sidebar, that is, the icon with the two overlapping page icons.
- Then navigate to the bottom of the panel right from the sidebar and select the EV3DEV DEVICE BROWSER.
- Clicking the ev3dev string, there you press Click here to connect.
- Then select something like “ev3dev en9” in the Searching for devices … input line at the top of the window.
- A green circle in the EV3DEV DEVICE BROWSER next to ev3dev, then indicates that the EV3 Brick is connected.
Solution Part 4 Run Python code to control the LEGO vehicle
- Then use the File menu, there Open Folder, there you navigate down to the actual script Exercise_Controlling_motors_by_sonic_sensor_Python_1.py in a folder with now other files to be uploaded to the microSD card to be ran.
- If you accidentally copied other files to the brick, you can go back to the EV3DEV DEVICE BROWSER and click on the arrow next to ev3dev, then you can Ctrl-Click to delete files e.g. everything below /home/robot without delecting /home/robot.
- Then you click on the filename, such as Exercise_Controlling_motors_by_sonic_sensor_Python_1.py to open the file in the editor.
- We then click the empty triangle and the bug icon on the left toolbar to Run and Debug. After you open the file, you will see a green triangle and the text label Download and Run on top of in the left panel.
- You really have to click the green triangle to actually run the script! It then takes a while to download the code to the microSD card and run the script for the first time.
- Your Python script creates connections to the motors and the sonic sensor, then uses a WHILE loop to move the vehicle until the distance is smaller than 0.3 meters. Then the script uses another WHILE loop to move backwards.
from pybricks.hubs import EV3Brick
from pybricks.ev3devices import Motor
from pybricks.ev3devices import TouchSensor
from pybricks.ev3devices import ColorSensor
from pybricks.ev3devices import InfraredSensor
from pybricks.ev3devices import UltrasonicSensor
from pybricks.ev3devices import GyroSensor
from pybricks.parameters import Port, Stop
from pybricks.parameters import Direction
from pybricks.parameters import Button, Color
from pybricks.tools import wait, StopWatch, DataLog
from pybricks.robotics import DriveBase
from pybricks.media.ev3dev import SoundFile
from pybricks.media.ev3dev import ImageFile

# Initialize the EV3 Brick.
ev3 = EV3Brick()

# Initialize two motors
mymotor_A = Motor(Port.A)
mymotor_D = Motor(Port.D)
mysonicsensor = UltrasonicSensor(Port.S1)

# Drive base
robot = DriveBase(mymotor_A,
mymotor_D,
wheel_diameter=70,
axle_track=150)

# While loop
while mysonicsensor.distance() > 300:
robot.drive(-200,0)

robot.stop()
robot.straight(-200)
LEGO building instructions and Python script to run the experiment
Download the building instructions and MATLAB script. The LXF file contains the building instructions to be used with the online 3D workshop by MECABRICKS) and desktop apps (for example Studio 2.0 by bricklink).
Download Python script to run the experiment.
References
LEGO Education (2020) Getting started with LEGO® MINDSTORMS® Education EV3 MicroPython, Version 2.0.0 (Link)
Trauth, M.H. (2021) Signal and Noise in Geosciences, MATLAB Recipes for Data Acquisition in Earth Sciences. Springer International Publishing, 544 p., https://doi.org/10.1007/978-3-030-74913-2